Painting techniques with acrylic paint - Guide to creative expression
Painting with acrylics offers a world of creativity and versatility. This guide will take you through basic and more advanced techniques. Hopefully we will be able to develop and enrich your artistic expression, whether you are new or an experienced artist.
In this guide we will cover techniques such as:
- Brush strokes
- Layering
- Color mixing
- Texture
- Palette knives
- Water mixed with acrylic paint
- Glazing
Preparing your materials
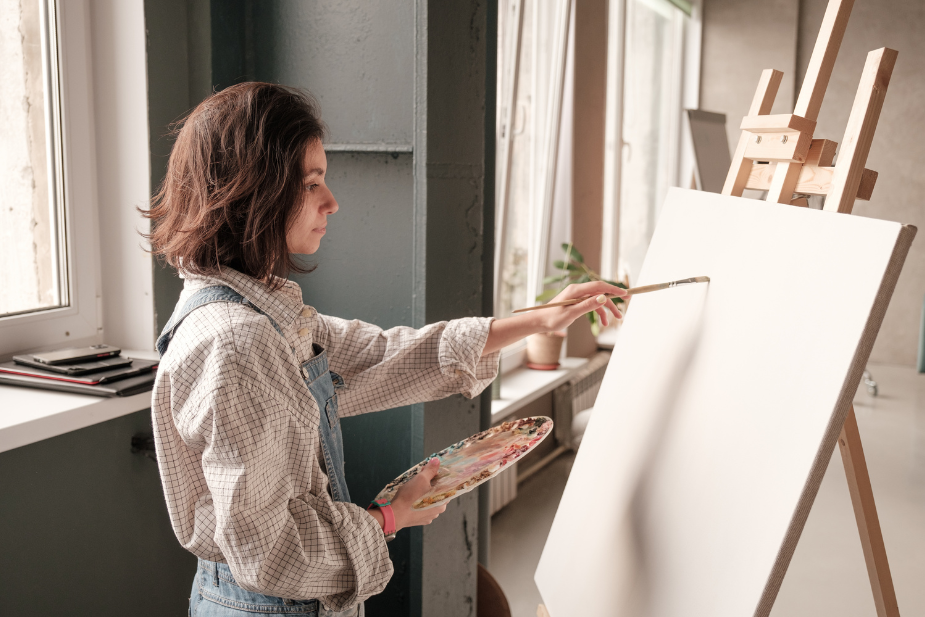
The first step in acrylic painting is to gather your materials. This includes acrylic paint, various brushes, a painting palette, canvas or paper, and water to clean your brushes. Having the right materials on hand is essential for a seamless painting experience. Read also Acrylic painting for beginners - A simple step-by-step guide".
Brush strokes
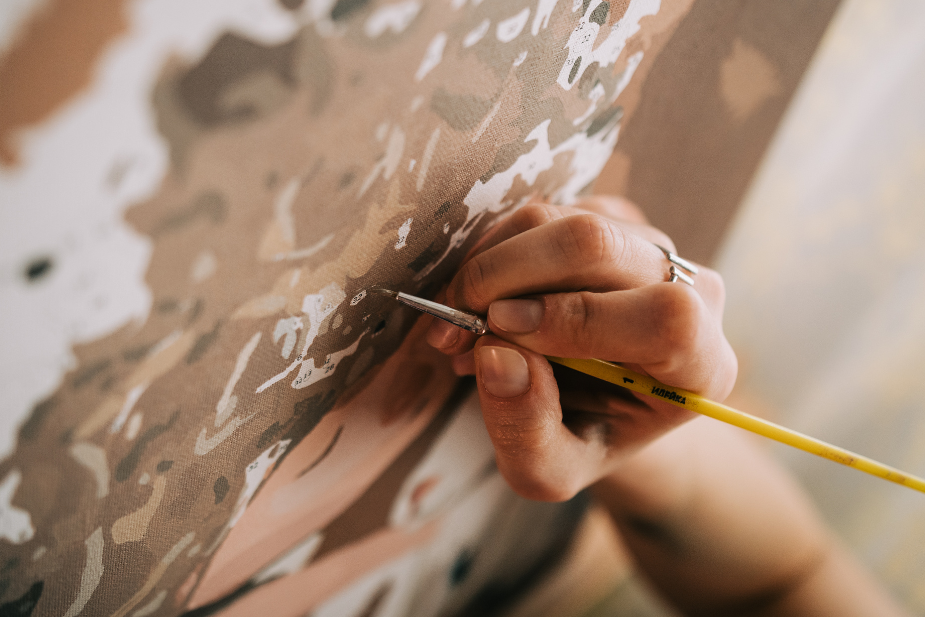
Start by getting familiar with your brush strokes such as smooth strokes, stippling, and drybrushing. These fundamental techniques are key to creating various textures and effects in your painting.
Smooth strokes
Smooth strokes, also known as "smooth strokes". This technique focuses on creating smooth, unbroken lines or surfaces with no visible brush strokes or texture.
How is it done?
When performing smooth strokes, the brush is used to apply the paint in a controlled, even layer. The movement of the brush is often slow and continuous, ensuring that the paint is evenly distributed across the canvas or paper. This requires a certain amount of control and precision as the goal is to avoid streaks, unevenness or build-up of paint.
Why use smooth strokes?
Smooth strokes are often used when a clean, polished finish is desired, and they are particularly popular in realistic painting, trying to mimic smooth surfaces like skin, sky, or reflective objects like mirrors and water surfaces.
To achieve the best results with this technique, it can be beneficial to use a soft, flexible brush and a paint that has a suitable consistency. It can also be helpful to mix a little water or medium into the acrylic paint to achieve a smoother, more fluid consistency.
Drybrush
The drybrush technique is a technique that uses an almost dry brush to apply paint. Often used in watercolor, oil and acrylic painting, this technique is particularly effective for creating textured and detailed effects in an artwork.
How to use it?
To perform the Drybrush technique, dip the brush lightly into the paint and then remove most of the paint by brushing the brush against a piece of paper or cloth. This leaves only a minimal amount of paint on the brush. When the brush is then passed over the canvas or paper, it leaves a very light and dry brushstroke. This creates a unique, almost grainy texture that is ideal for highlighting details such as hair, feathers, bark, stones, and other fine textures.
Why use it?
The drybrush technique requires a certain amount of control and practice, as the amount of paint and pressure applied with the brush must be carefully adjusted to achieve the desired effect. It's a technique often used by artists who want to add subtle details or a sense of depth and realism to their paintings.
Stippling
Stippling, or stippling, is a technique in which small dots or dots of paint are used to create an image or effect.
How is it done?
The technique is done by lightly dipping the brush into the paint and then making small, careful dots on the canvas or paper. By varying the amount, size and placement of the dots, the artist can create different visual effects and nuances. Stippling requires patience and precision as it often involves many small, detailed dots to build up the final image.
Why stippling?
This method is often used to create textures, shadows, and light reflections or to add a sense of depth and dimension to an artwork.
Layer on layer technique
The layered technique is a method of building up a painting through multiple layers of paint. This technique is especially used in acrylic, oil and watercolor painting and is ideal for creating depth, nuance and detail.
How to use it?
To use the layered technique, each layer of paint is applied after the previous layer has completely dried. This allows a gradual build-up of the painting, with each layer contributing to the depth, texture and color tones of the painting. This method is perfect for creating rich textures and realistic light and shadow effects.
Why use it?
The layer on layer technique requires patience and precise planning as each layer must dry before the next is applied. This method gives you great freedom and the ability to adjust and refine the painting over time, making it possible to achieve a higher degree of artistic finesse and depth in the painting.
Color mixing
Color mixing in acrylic painting is a creative process that allows you to create a wide spectrum of shades and tones by mixing different colors together.
How to do it?
Start with the three primary colors: red, blue and yellow. Mix these colors together to create secondary colors. For example, red and blue create purple, blue and yellow create green, and yellow and red create orange. To create tertiary colors, mix a primary color with a secondary color. Adding white can create pastel colors, while black can be used to create deeper shades.
Why color mixing?
Color mixing is essential for creating depth and realism in your painting. By mastering this technique, you can create a wide range of colors to suit any artistic expression and theme. Color mixing also allows you to personalize your work and create unique hues not found directly in tubes or tubs of acrylic paint.
Texture
Texturing techniques in acrylic painting involve using different methods to add unique and captivating elements to your painting.
Sponging
Sponging is a technique where a sponge is used to apply paint. This method creates a unique, often uneven texture and is great for simulating natural surfaces like stone or wood.
How to use?
Dip the sponge lightly into the paint and gently dab it onto the canvas. You can vary the pressure and amount of paint to create different textures.
Why sponging?
Sponging is a great way to add depth and interest to your painting, especially for creating natural and organic effects.
Scraping
Scraping involves using a pointed tool to create lines or patterns in the wet paint.
How to do it?
Use a sharp tool to gently scrape away the paint on the surface, revealing the underlying layers or canvas.
Why?
Scraping is used to create fine details, textures or to add a graphic element to your painting.
Drip your paint
When you drip paint, it creates a loose, fluid effect in the painting.
How to do it?
Dilute the paint and use a brush to drip the paint over the canvas, creating a spontaneous and organic effect.
Why?
This technique is perfect for adding a sense of movement and dynamism to your painting and is great for abstract compositions.
Palette knives
Palette knives are an essential tool when painting with acrylic paint. It is used to both mix colors and apply paint to the canvas.
How do you do this?
By using a palette knife you can apply paint in thick layers or create textured effects. The flat edge of the knife can be used to spread the paint, while the tip can be used to add fine details. Palette knives allow for a more expressive application of paint than brushes and can create a variety of textures and effects.
Why use them?
Using palette knives in painting is ideal for creating abstract effects and adding thickness and volume to the painting. The technique is popular in modern art and is useful for creating dramatic, textured surfaces and interesting color combinations.
Water mixed with acrylic paint
Mixing water with acrylic paint is a technique that changes the consistency and transparency of the paint.
How does it work?
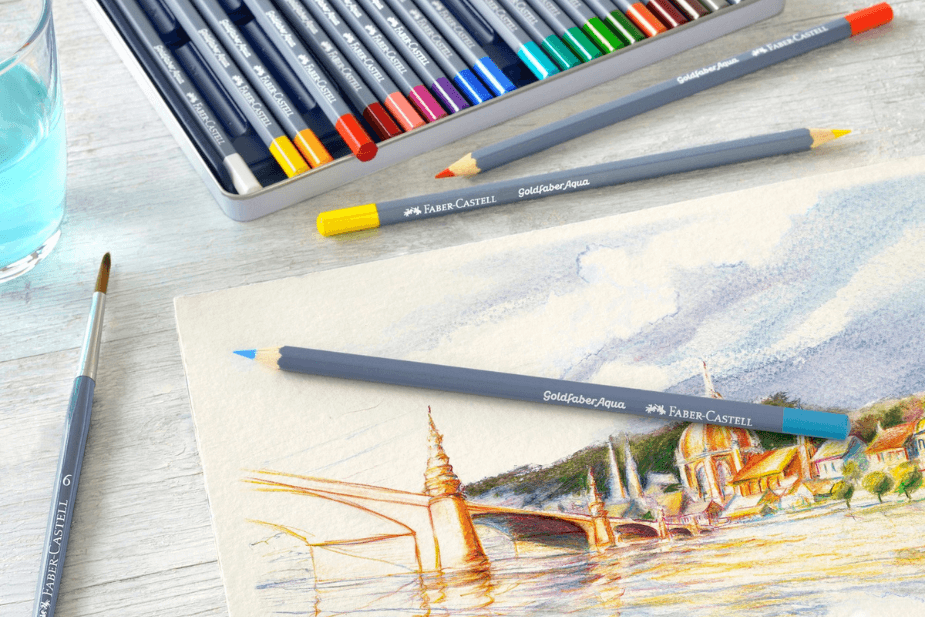
To thin the acrylic paint, it is mixed with water. This makes the paint more fluid and transparent. The amount of water added can vary depending on the desired effect, from light washes to more fluid and transparent layers.
Why?
This technique is ideal for creating a variety of visual effects, such as watercolor-like washes or softer color transitions. It's a great way to experiment with paint transparency and to create light, airy elements in your painting.
Glazing
Glazing is a technique in acrylic painting that involves applying thin, transparent layers of paint to create depth and visual effects in a painting.
How is it done?
To make a glaze, start by preparing the canvas, possibly with a layer of gesso. Then mix the acrylic paint with a glazing medium to achieve transparency. Apply the glaze in thin, even layers with a soft brush, sponge or roller and let each layer dry completely before applying the next. Choose transparent or semi-transparent colors for the best effect. This way you can gradually build depth and intensity in the glaze.
Why glazing?
Glazing is used to change shades, create depth and add effects of light, shadow or darkness. It's a complex technique that requires patience and precision, but with the right tools and a little practice, it can create stunning and unique works of art. Glazing is particularly effective at enhancing colors and creating the illusion of translucency, which can be especially useful in portraits or other detailed paintings.
Now you're ready to experiment
Painting with acrylic paint is all about experimenting and enjoying the process. There is no right or wrong way to paint, so take your time to explore and find your own style.
Remember, experimentation, practice and time are key to mastering this art form and developing your own unique artistic voice.


